
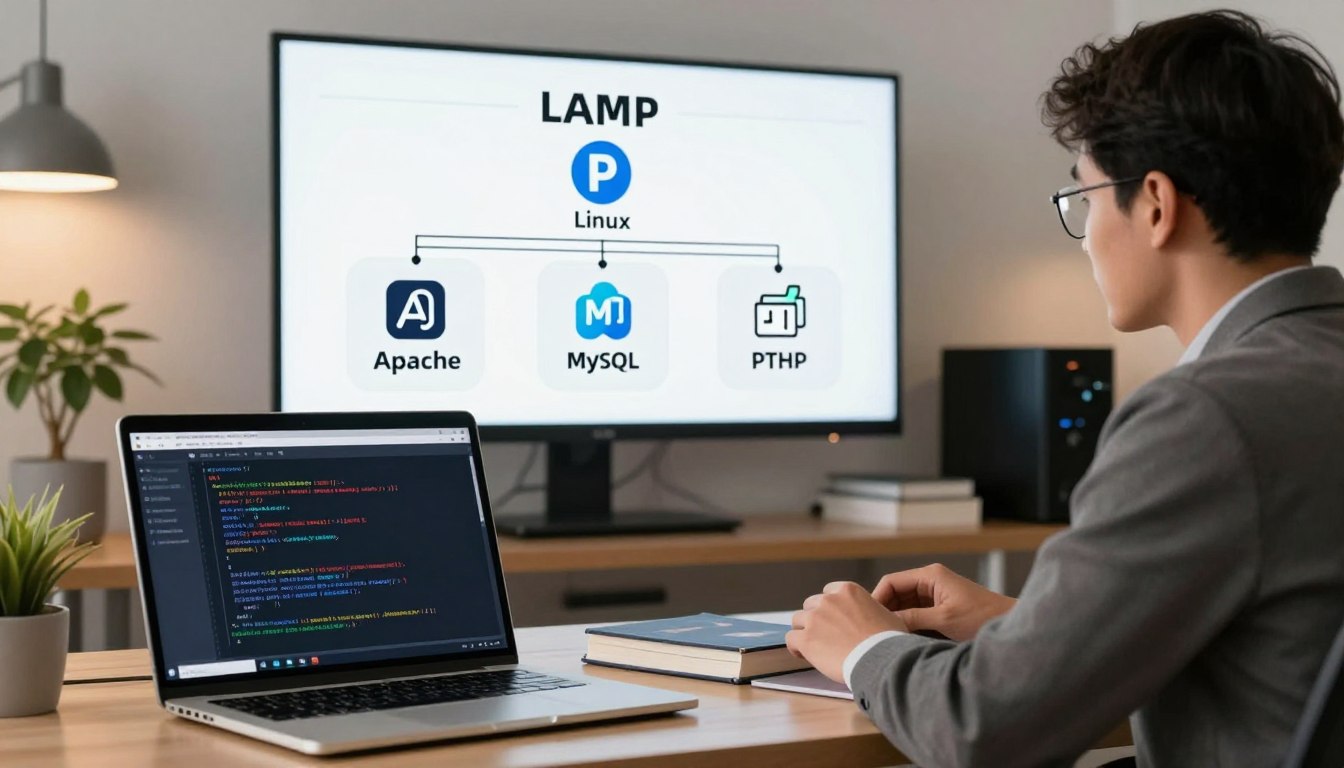




Creating a strong web environment starts with a solid base. Learning How to Install a LAMP Stack on VPS gives developers the tools to host dynamic sites and complex apps.
The LAMP stack—Linux, Apache, MySQL, and PHP—is the top choice for reliable performance. With a VPS, you control your hosting, making sure your projects run well and safely.
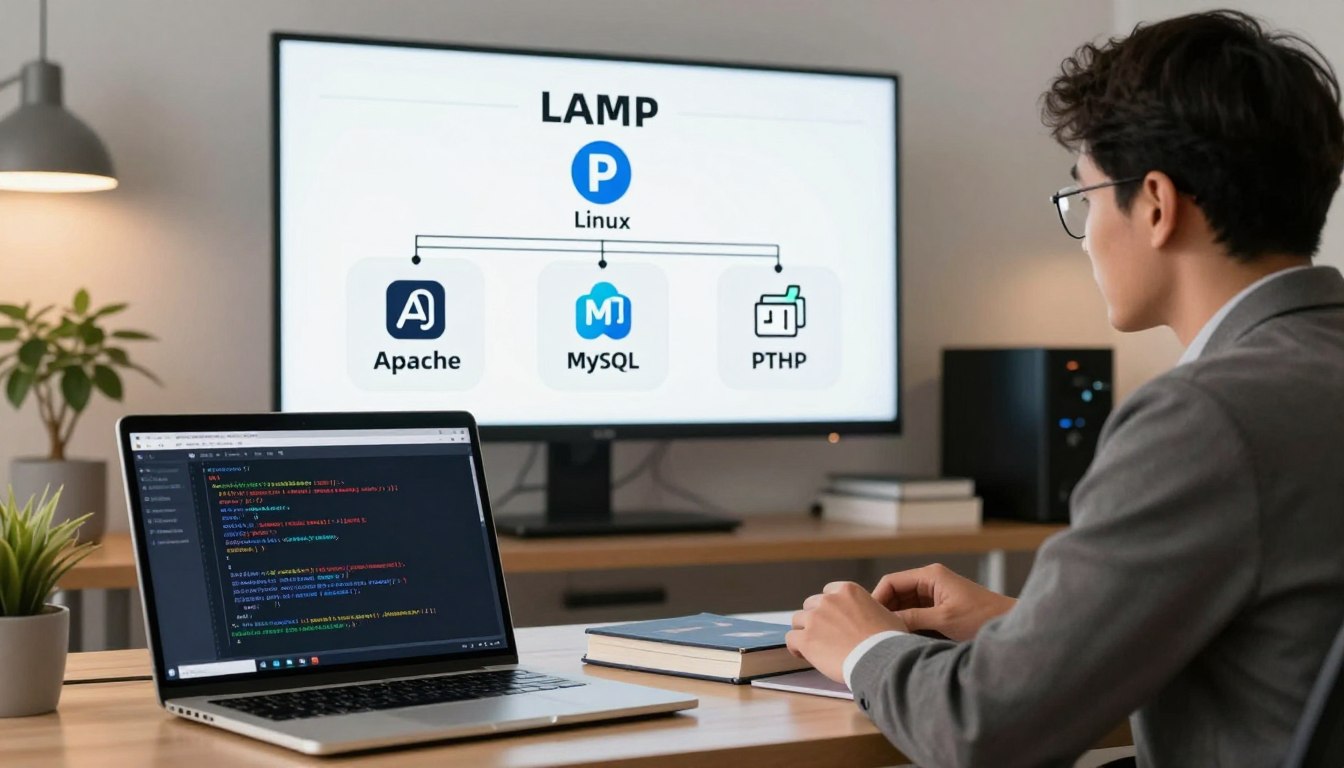
Our guide covers all key steps. We talk about server setup, software config, database creation, and security like HTTPS. For more tips, check out www.toolcats.com. Let’s start building your fast, secure server today.
Key Takeaways
- The LAMP stack is a key setup for hosting dynamic web content.
- Using a virtual private server gives you better control and growth for your apps.
- Getting your server ready is the first and most crucial step for a good setup.
- Security steps, like HTTPS, are key to keeping your data safe.
- Regular upkeep keeps your server fast and reliable over time.
Prepare the VPS for a LAMP Installation
Starting a secure server environment begins with preparing your virtual machine. Update your base system, make it secure, and set it up on the network correctly before installing software.
Choose a Linux VPS Distribution
Picking the right operating system is crucial. For this guide, Ubuntu 24.04 LTS is recommended. It has long-term support, a big community, and is easy for beginners.
A Linux VPS is great for hosting websites. If you hit a snag, www.toolcats.com can help keep your project on track.
Connect to the VPS with SSH
After setting up your instance, access it remotely. Use the SSH protocol from your local terminal or command prompt to connect to your VPS.
- Open your terminal application.
- Type the command: ssh root@your_server_ip.
- Accept the host fingerprint if prompted to establish the connection.
Update Packages and Create a Sudo User
Working as the root user is risky. Create a dedicated user with admin rights for daily tasks.
Run System Updates on Ubuntu 24.04 LTS
Refresh your package index before installing new software. Run these commands to patch your Ubuntu 24.04 LTS system:
sudo apt update && sudo apt upgrade -y
Set the Server Hostname and Time Zone
Identify your server properly for better management. Use hostnamectl to set a unique name and ensure your time zone is correct.
Configure the Basic Firewall
A UFW firewall is essential. It controls incoming network traffic, reducing unauthorized access risks.
Allow SSH, HTTP, and HTTPS Traffic with UFW
Permit essential traffic before enabling the firewall. Not doing so could block your server access.
| Service | Port | Action |
|---|---|---|
| SSH | 22 | Allow |
| HTTP | 80 | Allow |
| HTTPS | 443 | Allow |
Protect SSH Access Before Enabling the Firewall
Make sure SSH is allowed in the UFW firewall before enabling it. Once safe, enable the firewall with sudo ufw enable to secure your Linux VPS.
How to Install a LAMP Stack on VPS
Starting with the Apache web server is key for a strong LAMP stack. It’s the main tool that shows your website to people all over the internet.
Install Apache Web Server
Install Apache with APT
Using Ubuntu’s package manager is easy. Open your terminal and type these commands to update and install the server:
- sudo apt update
- sudo apt install apache2
Check the Apache Service Status
After installing, the service should start on its own. Check if the Apache web server is running by using the systemctl command:
sudo systemctl status apache2
Look for “active (running)” in the output. This means your server is ready for requests.
Verify Apache Through the VPS IP Address
Find the Public VPS IP Address
To see your server in a browser, you need its public IP. Type this command in your terminal:
ip addr show eth0 | grep inet | awk ‘{ print $2; }’ | sed ‘s/\/.*//’
Confirm the Default Apache Page Loads
Paste the IP into your browser’s address bar. If it works, you’ll see Apache’s default page. This shows your LAMP stack is set up right.
Understand Apache’s Main Directories and Configuration Files
Review the Document Root at /var/www/html
The main spot for your website files is /var/www/html. Files here are what visitors see when they visit your site.
Identify Apache Virtual Host and Module Locations
Apache has special places for site settings and extensions. Knowing these paths helps with customizing. For more help, check out www.toolcats.com.
| Directory Path | Purpose | Configuration Type |
|---|---|---|
| /etc/apache2/sites-available/ | Virtual Host files | Site-specific settings |
| /etc/apache2/mods-available/ | Apache modules | Feature extensions |
| /var/log/apache2/ | Log files | Error and access logs |
Install and Secure MySQL on the VPS
After setting up your web server, it’s time to add a database system. A MySQL server is key for storing and getting your website’s data.
Install MySQL Server
Install MySQL with the Ubuntu Package Manager
You can get the software from Ubuntu’s default repositories. First, update your package list. Then, install the server package with these commands:
- sudo apt update
- sudo apt install mysql-server
Confirm That MySQL Starts Automatically
After installing, the database service should start automatically. Check if the MySQL database is running and set to start at boot with systemctl.
Run the MySQL Security Script
Remove Anonymous Users and the Test Database
Default setups have insecure settings that could risk your data. Running the security script is essential to remove anonymous users and the test database that hackers might use.
Review Root Authentication Options
The script will ask you to set a root password and disable remote root logins. Follow these steps to keep your admin access local.
Create a Dedicated Database and User for the Website
Open the MySQL Console as an Administrative User
To manage your data, log in to the MySQL console. Use the sudo command for admin access, letting you run commands in the database.
Grant Limited Privileges to the Website Database User
It’s a best practice to use a unique user for your website instead of the root account. This limits access and reduces risks.
Test Database Login Without Exposing Credentials
After creating the user, test the login with the new credentials. For more help with advanced setups or security, check www.toolcats.com for VPS tips.
Install PHP and Essential Extensions
PHP is key for your Apache web server to handle dynamic content and databases. It lets the server run complex scripts and manage data-driven apps well.
Install PHP with Apache Integration
Install PHP, libapache2-mod-php, and the MySQL Extension
To start, install the PHP package, the Apache module, and the MySQL connector. Use your package manager for this. It makes sure your server talks well with your database.
Confirm the Installed PHP Version
After installing, check if PHP is working. Use a command to see the version. This confirms your system is set up and ready for more steps.
Add Common PHP Extensions for Websites
Install PHP Extensions for XML, cURL, GD, ZIP, and Multibyte Text
Most websites need extra features beyond basic PHP. Install PHP extensions for tasks like image processing and secure web requests. Add modules like XML, cURL, GD, ZIP, and Multibyte String to your server.
- XML for parsing data structures.
- cURL for making external API requests.
- GD for dynamic image manipulation.
- ZIP for handling compressed file archives.
- Multibyte String for supporting international character sets.
Match Extensions to Applications Such as WordPress
Popular CMS like WordPress need specific modules to work right. If your app is missing features, add more libraries. For help on setting up and app compatibility, visit www.toolcats.com.
Configure Apache to Prioritize PHP Files
Set index.php Before index.html When Necessary
Apache usually looks for HTML files first. Change your directory settings to make index.php the first choice. This lets your dynamic content load as the main page.
Restart Apache After PHP Configuration Changes
After updating your config files, restart Apache. This makes sure all new settings work right away. It makes your dynamic web environment ready for traffic.
Test PHP and Connect the LAMP Components
Checking your setup is key to making sure everything works together. This means your web server, database, and scripting language are all in sync. By doing these tests, you know your LAMP stack is ready to handle dynamic content well.
Create a Temporary PHP Test File
Write a phpinfo() Test Page in the Web Root
To see if Apache handles PHP right, make a simple info file. Go to your web root directory and make a file called info.php with your favorite text editor.
Put this code in it: <?php phpinfo(); ?>. It shows a detailed report of your environment settings.
Open the Test Page in a Browser
After saving, open your browser and go to http://your_server_ip/info.php. You’ll see a page with your PHP settings.

Verify PHP-to-MySQL Connectivity
Use a Minimal Database Connection Test
Next, check if your PHP can talk to the MySQL server. Make a new file named dbtest.php. Put a script in it to try to connect to your MySQL database with your login details.
If it connects, you’ll see a simple “success” message. This means your app and database are talking well.
Delete Diagnostic Files After Testing
Security is very important on a server. The phpinfo page shows too much about your system, which is bad for security.
Always delete these files right after testing. Leaving them there is a big security risk for your MySQL database and whole system.
Check Service Status and Logs
Review Apache Error and Access Logs
Looking at your logs keeps your LAMP stack healthy. Apache logs two main things: who visits and any system problems.
Find these logs in /var/log/apache2/. Checking them often helps spot and fix problems before they bother users.
Inspect MySQL and PHP Errors Without Displaying Them Publicly
When fixing issues, don’t show error messages to everyone. Instead, log them privately on the MySQL server.
This keeps your site looking good while helping you fix problems. For more help on managing services and logs, check out www.toolcats.com for VPS troubleshooting tips.
| Diagnostic Tool | Purpose | Security Level |
|---|---|---|
| phpinfo() | Verify PHP installation | High Risk (Delete after use) |
| dbtest.php | Test database connection | Medium Risk (Delete after use) |
| Apache Logs | Monitor system health | Low Risk (Keep private) |
Secure the LAMP Stack for Website Traffic
Keeping your data and visitors safe from threats is key. A strong server security plan goes beyond just setting it up. It needs ongoing care and encryption.
Enable HTTPS with Let’s Encrypt
Point the Domain Name to the VPS
First, connect your domain to your server’s IP. Change your DNS provider’s A record to point to your VPS’s public IP.
Install Certbot and the Apache Plugin
Certbot is top for handling Let’s Encrypt SSL certificates. It works with the Apache plugin to make setting up easy.
Request and Test a TLS Certificate
After installing, use Certbot to get your certificate. It will make your Apache use HTTPS for all traffic.
Harden Apache and PHP Settings
Disable Unnecessary Apache Directory Listings
Apache might list files in a directory if there’s no index file. Turn off this feature to stop attackers from seeing your server.
Set Safe PHP Production Values
Change your php.ini to hide error messages. Set display_errors to “Off” to keep things professional.
Prevent Public Access to Configuration and Backup Files
Make sure files like .env and .sql aren’t web accessible. Use Apache to block access to these files.
Apply Ongoing Server Security Practices
Use SSH Keys and Disable Password Authentication
SSH keys are safer than passwords. Once set up, turn off password logins to stop brute-force attacks.
Install Security Updates and Review Login Activity
Keep your system up to date to fix vulnerabilities. Also, watch your login logs to catch and block suspicious activity.
Keep Database Credentials Outside Public Web Directories
Don’t store database passwords in your web root. Keep them in a secure, restricted area for server security.
For more on HTTPS and security, check out www.toolcats.com. They have great tips on SSH and Let’s Encrypt SSL management.
Configure an Apache Virtual Host for a Website
Ready your server, and you’re set to host your domain with an Apache virtual host. This feature lets the Apache web server handle different domains. It serves unique content for each from one VPS.

Create the Website Document Root
First, set up a directory for your website files. This website document root is the main folder for your domain’s assets.
Set Ownership and Permissions for the Web Directory
Make sure the web server can access your files. Changing ownership to the web user avoids permission issues.
Add a Simple PHP Homepage
Make a basic index file to test your setup. A simple PHP script showing a welcome message is enough for now.
Create and Enable the Apache Virtual Host File
Create a configuration file to guide the server. This file outlines how your site will work on the network.
Define the Domain, Document Root, and Log Files
In your file, list the server name and your website document root path. Also, set paths for access and error logs for easier troubleshooting later.
Enable the Site and Required Apache Modules
Save your file and enable the site with command-line tools. Make sure modules like rewrite are active for advanced features.
Complete the Domain and HTTPS Configuration
Securing your site is key for today’s web. Point your domain to your server and set up HTTPS.
Test the Apache Configuration Before Reloading
Always check your configuration before applying it. This avoids downtime from typos.
Redirect HTTP Requests to HTTPS
Ensure all traffic is encrypted by redirecting HTTP to HTTPS. For more on complex setups, check www.toolcats.com for expert advice.
| Command | Action | Purpose |
|---|---|---|
| apache2ctl configtest | Syntax Check | Validates configuration files |
| a2ensite | Enable Site | Activates the virtual host |
| systemctl reload apache2 | Reload Service | Applies changes without downtime |
| chown -R www-data | Change Owner | Sets correct file permissions |
Maintain, Troubleshoot, and Extend the VPS LAMP Stack
Managing a server environment needs a proactive approach. This ensures long-term stability. By staying vigilant, you can prevent minor glitches from turning into major downtime for your website.
Resolve Common Apache Problems
Apache is the heart of your web server. But it can face configuration hurdles. Understanding how to diagnose these issues is a key part of effective VPS troubleshooting.
Fix Port Conflicts and Failed Service Restarts
If Apache fails to start, it’s often due to a port conflict. Another process might be using port 80 or 443. You can find the culprit by running the netstat or ss command. Once found, stop the conflicting service or update your Apache configuration to use a different port.
Correct Permission and 403 Forbidden Errors
A 403 Forbidden error means the web server can’t access your files. Make sure your document root and files are owned by the correct user, usually www-data. Also, check that directory permissions are set to 755 and file permissions to 644 for optimal server security.
Resolve Common PHP and MySQL Problems
When your site displays a blank page or database errors, the issue often lies within the application layer. Systematic checking of logs is the fastest way to find the root cause.
Investigate Blank Pages and PHP Module Errors
A blank page often hides a fatal PHP error. Check your Apache error logs to identify missing modules or syntax errors in your code. If a module is missing, install it using your package manager and restart the service to apply changes.
Fix Access Denied Database Connection Errors
If your application cannot connect to the database, verify your credentials in the configuration file. Ensure the database user has the correct GRANT privileges for the specific database. You can test connectivity manually using the MySQL command-line client to confirm the password and host settings.
Plan Backups and Performance Improvements
Maintaining a healthy VPS requires a strategy for data protection and resource management. Regular maintenance ensures your site remains fast and reliable as traffic grows.
Back Up Website Files and MySQL Databases
You must perform regular VPS backups that include both your website files and your MySQL databases. Relying on a single backup method is risky. Consider off-site storage for your archives. This practice ensures you can recover quickly in the event of a hardware failure or accidental data deletion.
Monitor Memory, Disk Space, and CPU Usage
Keep a close eye on your system resources to prevent performance bottlenecks. Use tools like htop or df -h to monitor CPU, memory, and disk space usage in real-time. If you notice consistent high pressure, it may be time to optimize your queries or clean up old log files.
Consider PHP-FPM, OPcache, and a VPS Upgrade
To boost performance, implement PHP-FPM to handle requests more efficiently than standard Apache modules. Enabling OPcache will also store precompiled script bytecode in memory, significantly reducing load times. If these optimizations are not enough, consider upgrading to a larger VPS plan to accommodate your growing needs.
| Issue Type | Common Symptom | Primary Solution |
|---|---|---|
| Apache | 403 Forbidden | Check file permissions |
| MySQL | Access Denied | Verify user privileges |
| PHP | Blank Page | Check error logs |
| System | High CPU | Monitor processes |
Use www.toolcats.com for Additional VPS Guidance
For deeper insights into VPS troubleshooting and advanced optimization, visit www.toolcats.com. This resource provides comprehensive guides on maintaining your stack and improving server security. Whether you are implementing PHP-FPM or setting up automated VPS backups, you will find the technical support needed to keep your infrastructure running smoothly.
Conclusion
Building a strong web environment needs careful attention to every layer. You now know how to set up a LAMP stack on your server. This setup is great for hosting dynamic websites and complex apps.
Learning to install a LAMP stack on VPS environments lets you control your digital assets. You’ve learned to prepare a secure VPS, set up Apache, harden MySQL, and configure PHP. These steps keep your server fast and safe from threats.
Regular maintenance is key for long-term success. Make sure to update regularly, back up often, and watch your services closely. These habits help your LAMP stack run smoothly as your site grows.
For more VPS tips, visit www.toolcats.com. This site offers insights into advanced setup and troubleshooting. Your server management skills will grow with each new site you launch.
FAQ
Why is Ubuntu 24.04 LTS recommended for a LAMP stack installation?
A: Ubuntu 24.04 LTS is top choice for a VPS because it gets long-term support. This means your VPS gets important security updates for years. It’s stable for Linux, Apache, MySQL, and PHP, making it great for hosting WordPress sites and custom web apps.
How do I secure my server before installing the web software?
First, connect via SSH and make a sudo user to avoid running as root. Also, set up the UFW (Uncomplicated Firewall) to only allow traffic on needed ports. This includes SSH (Port 22), HTTP (Port 80), and HTTPS (Port 443). For more server tips, check www.toolcats.com.
Where is the default web directory located in Apache?
On a standard Ubuntu setup, the default document root is /var/www/html. This is where Apache looks for your site files. Unless you change it in an Apache Virtual Host config.
Why should I run the MySQL security script after installation?
Running the mysql_secure_installation script is key for a strong database. It removes anonymous users, stops remote root logins, and deletes the test database. This makes your MySQL server less vulnerable to attacks.
Which PHP extensions are required for a standard WordPress site?
For a WordPress site, you need extensions like php-mysql for database work. Also, php-xml, php-curl for APIs, php-gd for images, and php-mbstring for text. For more info, visit www.toolcats.com.
Is it safe to leave a phpinfo() file on my public server?
No, delete any phpinfo() files right away. They show too much about your VPS, like modules and paths. This info is a risk for hackers.
How can I enable HTTPS on my LAMP stack for free?
Use Let’s Encrypt for a free TLS/SSL certificate. Install Certbot and the python3-certbot-apache plugin. They help you get and set up certificates for HTTPS easily.
What is the purpose of an Apache Virtual Host?
An Apache Virtual Host lets you host many domains on one VPS. Each host file has its own ServerName, DocumentRoot, and log files. This way, the server knows where to find your site files based on the URL.
How do I troubleshoot a “403 Forbidden” error on my website?
A 403 Forbidden error often means wrong file permissions or ownership. Make sure www-data can read and execute your web directories. If it still doesn’t work, check the Apache error logs or www.toolcats.com for help.
How can I improve the performance of my PHP applications?
To boost your LAMP stack, turn on OPcache to store script bytecode in memory. For busy sites, switch to PHP-FPM (FastCGI Process Manager). This cuts down on CPU and RAM use on your VPS.

Leave a Reply